Good Morning Everyone! Welcome to Mug Monday! I’m Emily Dugal, Digital Marketing Manager at RE/MAX Leading Edge! If you’ve seen Mug Monday welcome back and if it’s your first time I’m excited to share my myriad of mugs and tips with you! This weeks mug is my roommate's "Do more of what you love." mug!
This week I wanted to talk to you all about captions in your videos. As you probably have noticed in past episodes we add captions to all of our videos. See them! Right there. But maybe you wondered why we use captions or how they go there! And that’s what I’m here to tell you!
Why You Need Captions in Video
Did you know that 85% of videos on Facebook are watched without sound!? You may even be watching this video without the volume up at all but because we’ve added captions you can still absorb the information even if it’s not with your ears. You want to make it as easy as possible for the people watching your videos to get the information you are providing and captions is just another way of doing that.
How Do You Get Captions in Your Videos?
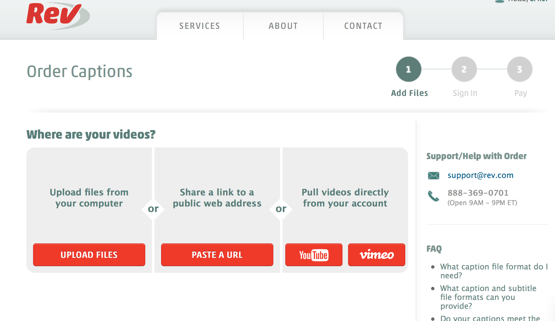
Getting captions on your videos is easier than you think. Here at RE/MAX Leading Edge we use Rev.com but there’s other services out there like Boston based company 3PlayMedia so you can look around and find which product will work best for you. First go to Rev.com and you’ll select that you want to place an order for captions. You’ll need the final version of your video ready to go. Upload the video to Rev.com.
The captions cost $1 a minute so if you’re video is 4 minutes long you’ll pay $4. Rev.com can take up to 24 hours to return your order so keep that in mind. However it typically only takes 2-3 hours and sometimes I’ve gotten them in under an hour. Plan accordingly though. When you get the email that your order is ready you’ll want to download the captions from the website. Don’t use the link in the email, I’ll explain why in a minute. Go to order history, click your order number and you’ll be taken to where you can download the video

When you click download on the website you’ll be able to choose the file version you want. If download from the email you won’t have this option. You’re going to choose the Facebook Ready file. The file will download and now you are ready to upload to Facebook.

How To Upload Captions to Facebook
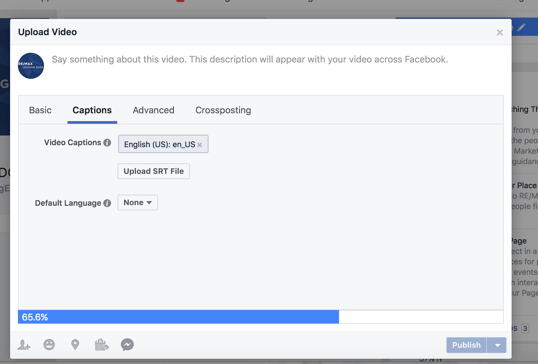
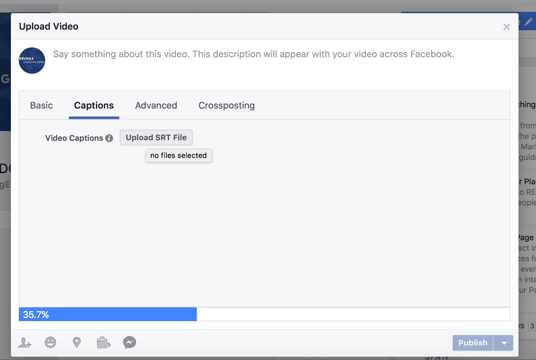
Next you will navigate to your Faceook Business page. Start to upload to Facebook as you normally would. While the video is loading you’ll see the tabs for Basic, Captions, Advanced, Crosspointing.

Click Captions. On this screen you’ll a button that says upload SRT file. Find the file you downloaded from REV.com, select it and you’re done.
When you publish your video your caption will be displayed along the bottom.